Are you tired of worming, doctoring, feeding grain and all the costs of high inputs with little return?
Then we have the stock for you.
Low maintenance is our goal with our stock
Red Angus Cows, heifers, Bulls & Stockers
We raise our cattle on the high desert of Eastern Oregon. Our cows spend 9 months of the year out on the range and come home with a calf in the fall or are sent to town. We sell top quality bulls as well.
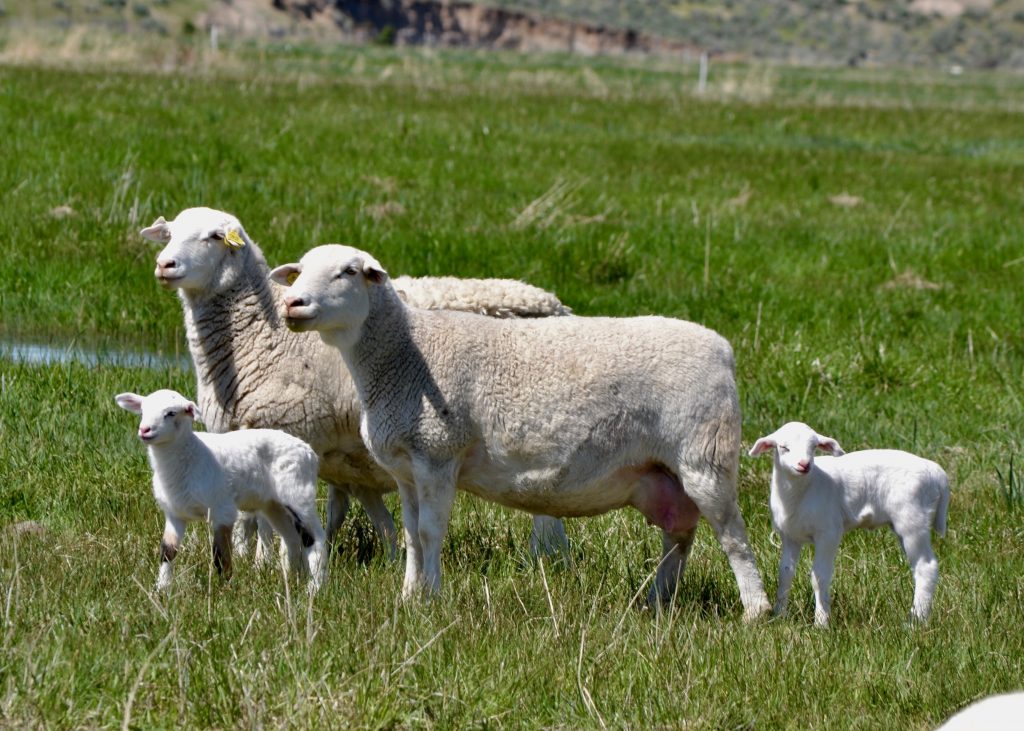
Dorper hair sheep are a wonderful addition to any operation. They are well tempered, raise multiple lambs and are very easy to maintain. No sheering, hoof trimming or worming!
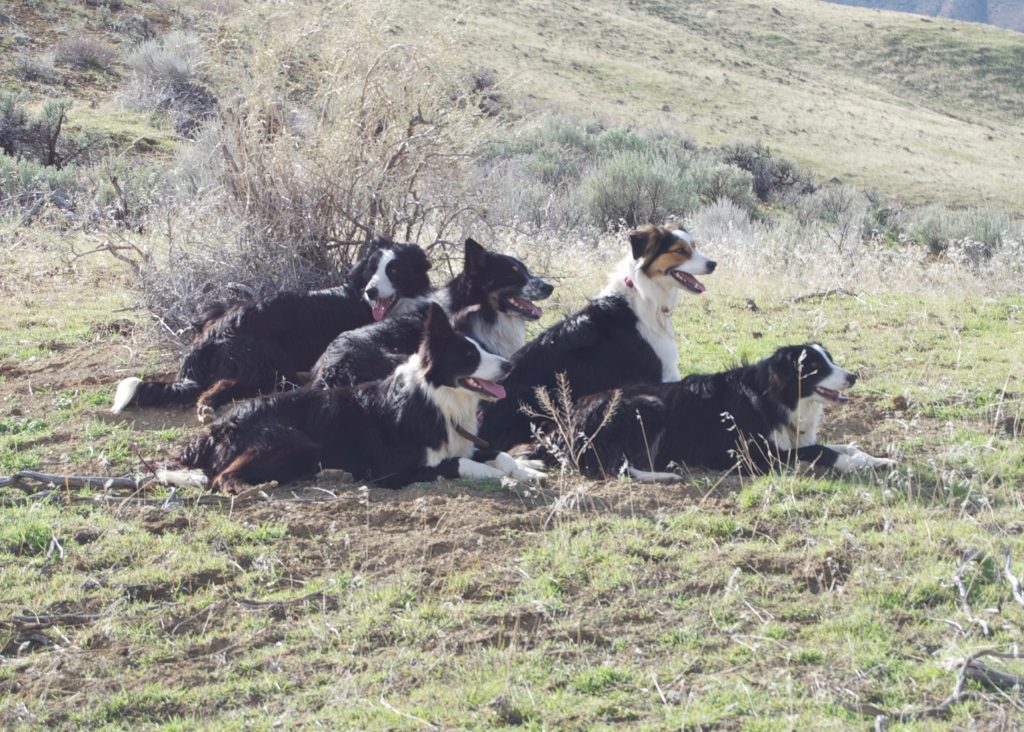
We use Border Collies for all our cattle work on the ranch. They are amazing, smart dogs with lots of instinct. They are also very popular family dogs for those with active lifestyles.