Another “reuse it” episode. If you thought making a smoker out of an old freezer was neat, wait until you see this next little project. Building a root cellar out of an old refrigerator or freezer.
First off, what would you use a root cellar for? Despite modern technology, some things are just better the old fashioned way, and root cellars are one of them. By using the ground’s natural temperature (55 degrees) you can keep certain foots for long periods of time in tip-top shape. The name behind “root” cellar is because most of the products that store well are root type plants: potatoes, carrots, parsnips, onions, etc. However, you are not limited to just root vegetables: winter squash, fermented vegetables and several other things store well in a root cellar. If you have a naturally cool and damp basement then you probably can make do with storing things down there, but for us, we don’t have a basement and there is no place in our house that is consistently cool enough to keep certain things from spoiling. Which brought us to building a root cellar.
The house that we live in used to have a root cellar in the backyard at one point in time and after several decades it eventually wore out and fell apart, but pretty much all the old homesteads had a root cellar at one point in time. Refrigeration was expensive and it doesn’t do the same job that a root cellar could do, so everyone had one. In fact, my father-in-law rebuilt his root cellar and I must say that I am quite jealous of it’s nice walk-in space and nice shelving. He did a nice job!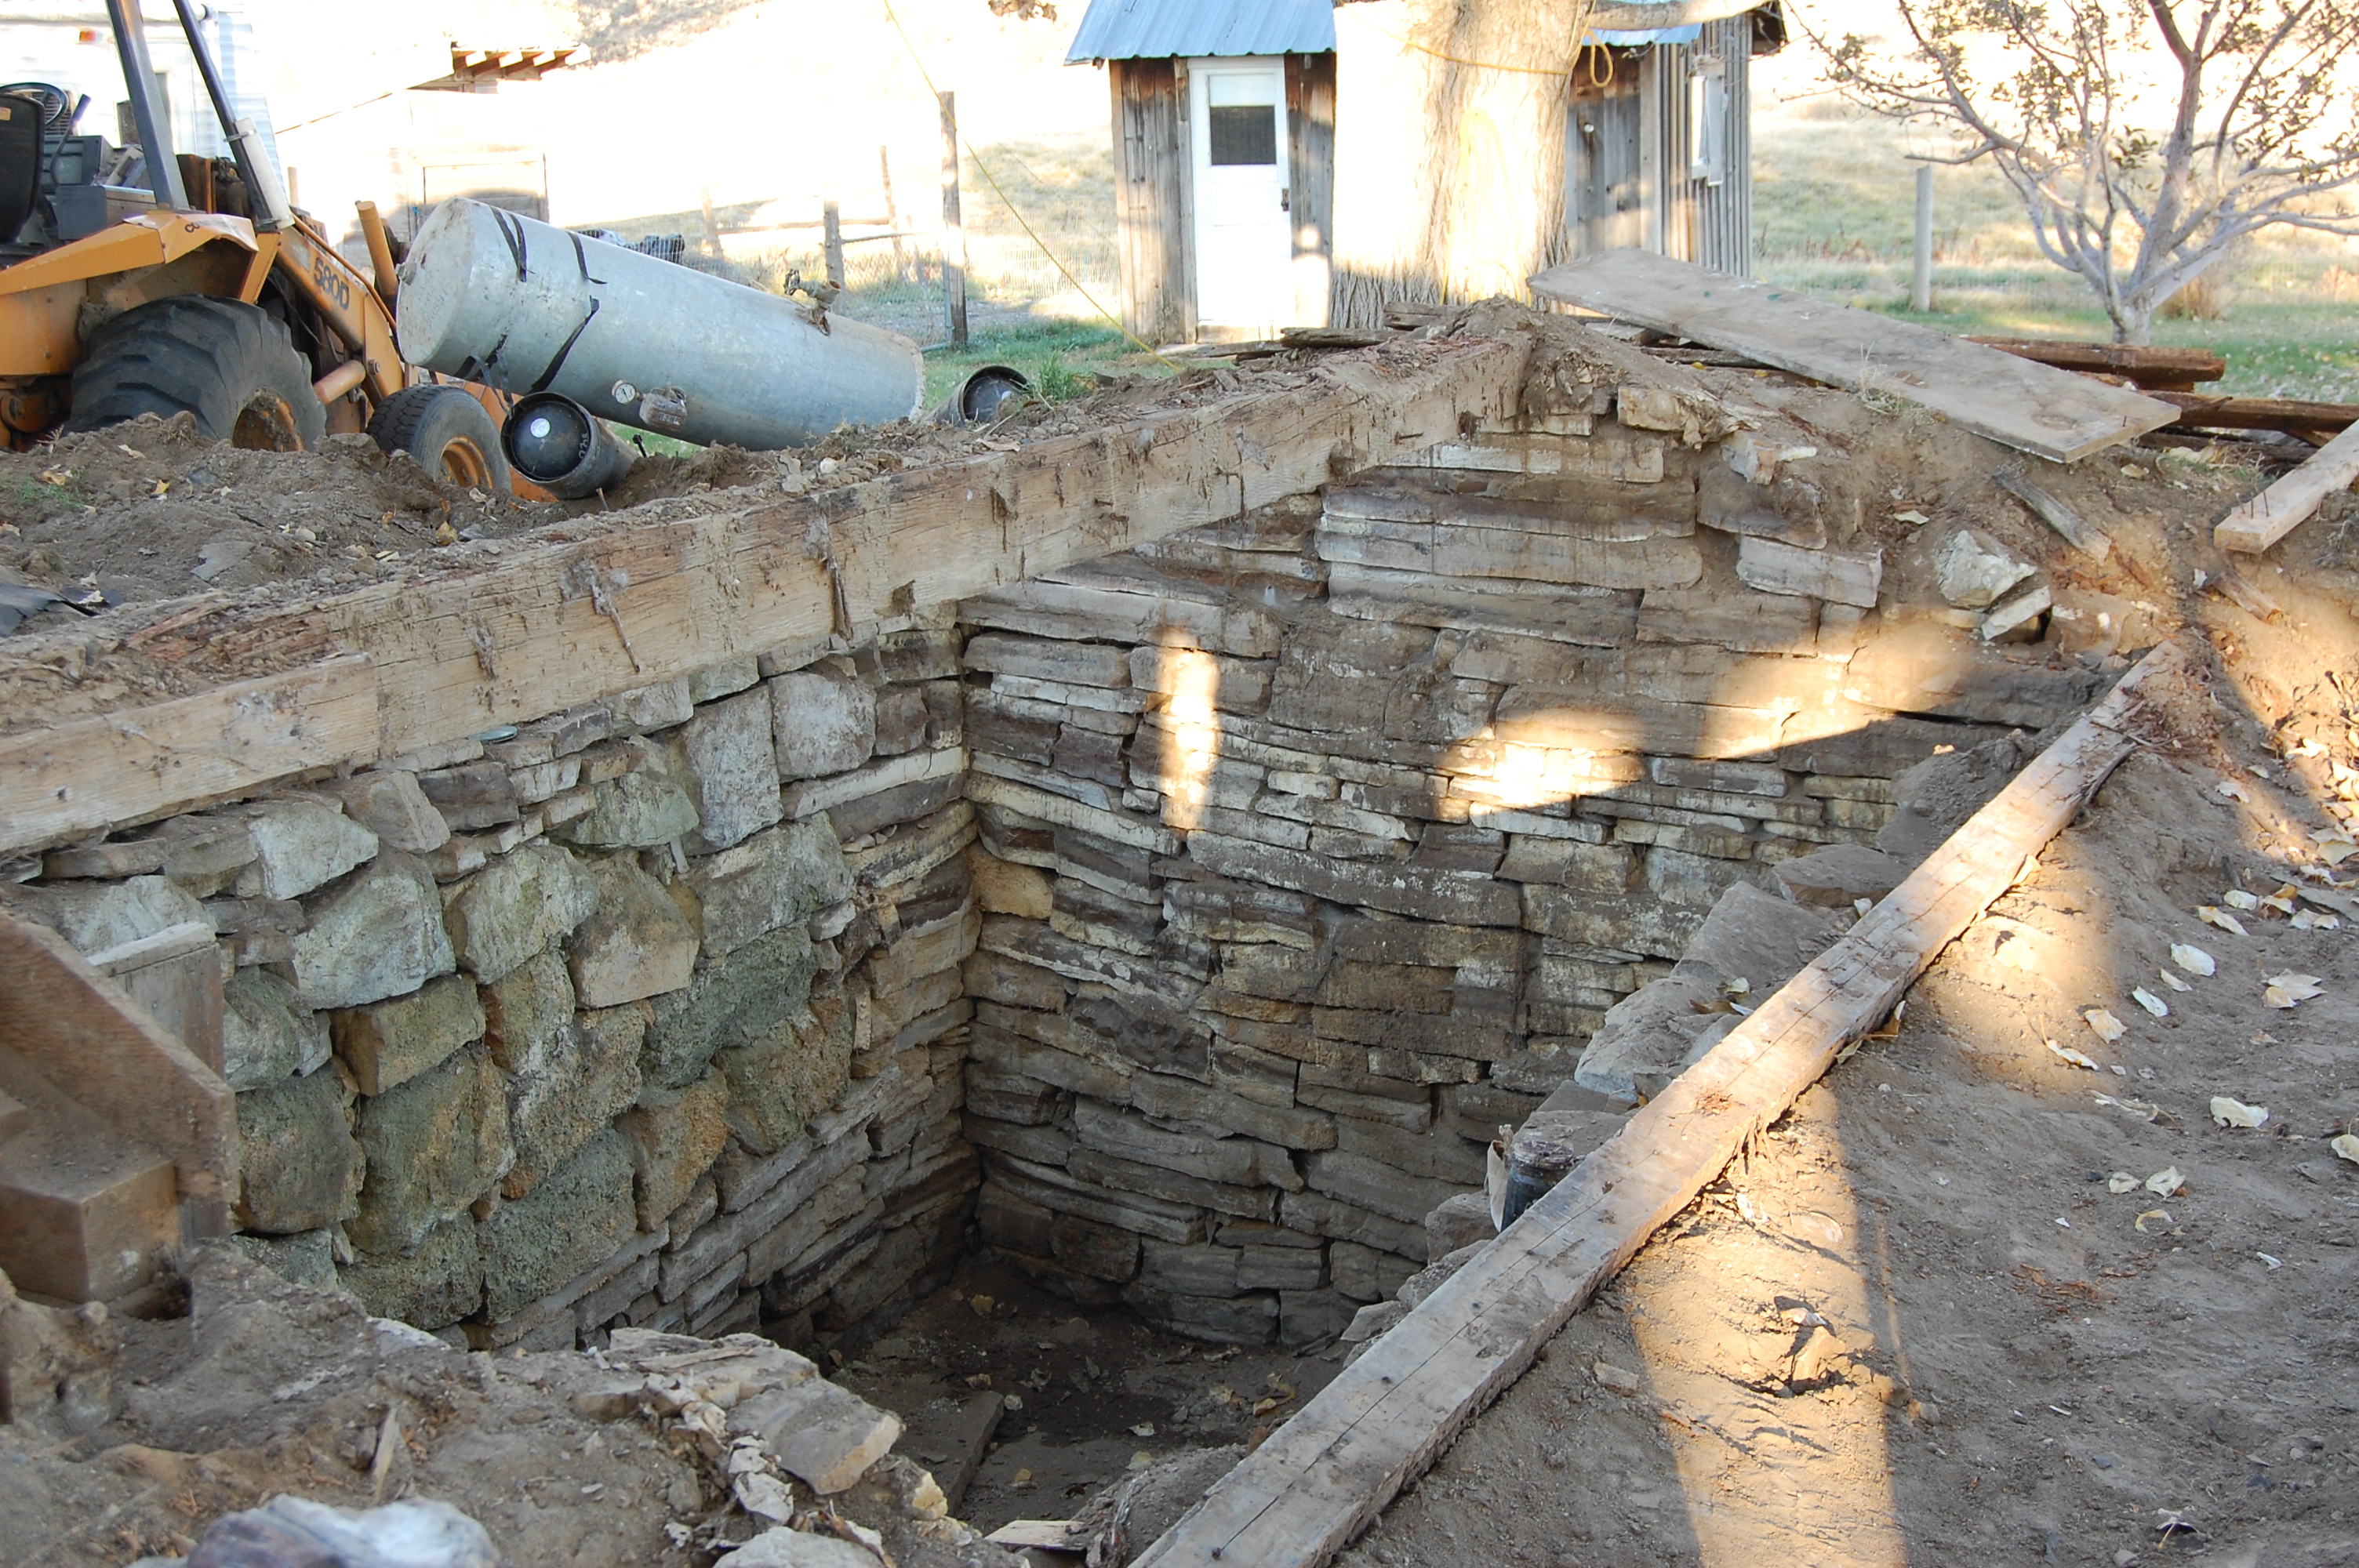
But when time and options are limited, you make do with what you’ve got. This is how we built our small, but handy refrigerator root cellar.
***Word of Caution*** Placing a refrigerator in the ground can be dangerous for children. It is your responsibility to make sure that there is a large and heavy top OVER the refrigerator to make sure children cannot get into the fridge.
1. Find an old or broken refrigerator or freezer.
2. Take all working parts off of the refrigerator or freezer, this includes stripping the backside of it off and removing the mechanical parts. Leaving you with just the shell of the fridge.
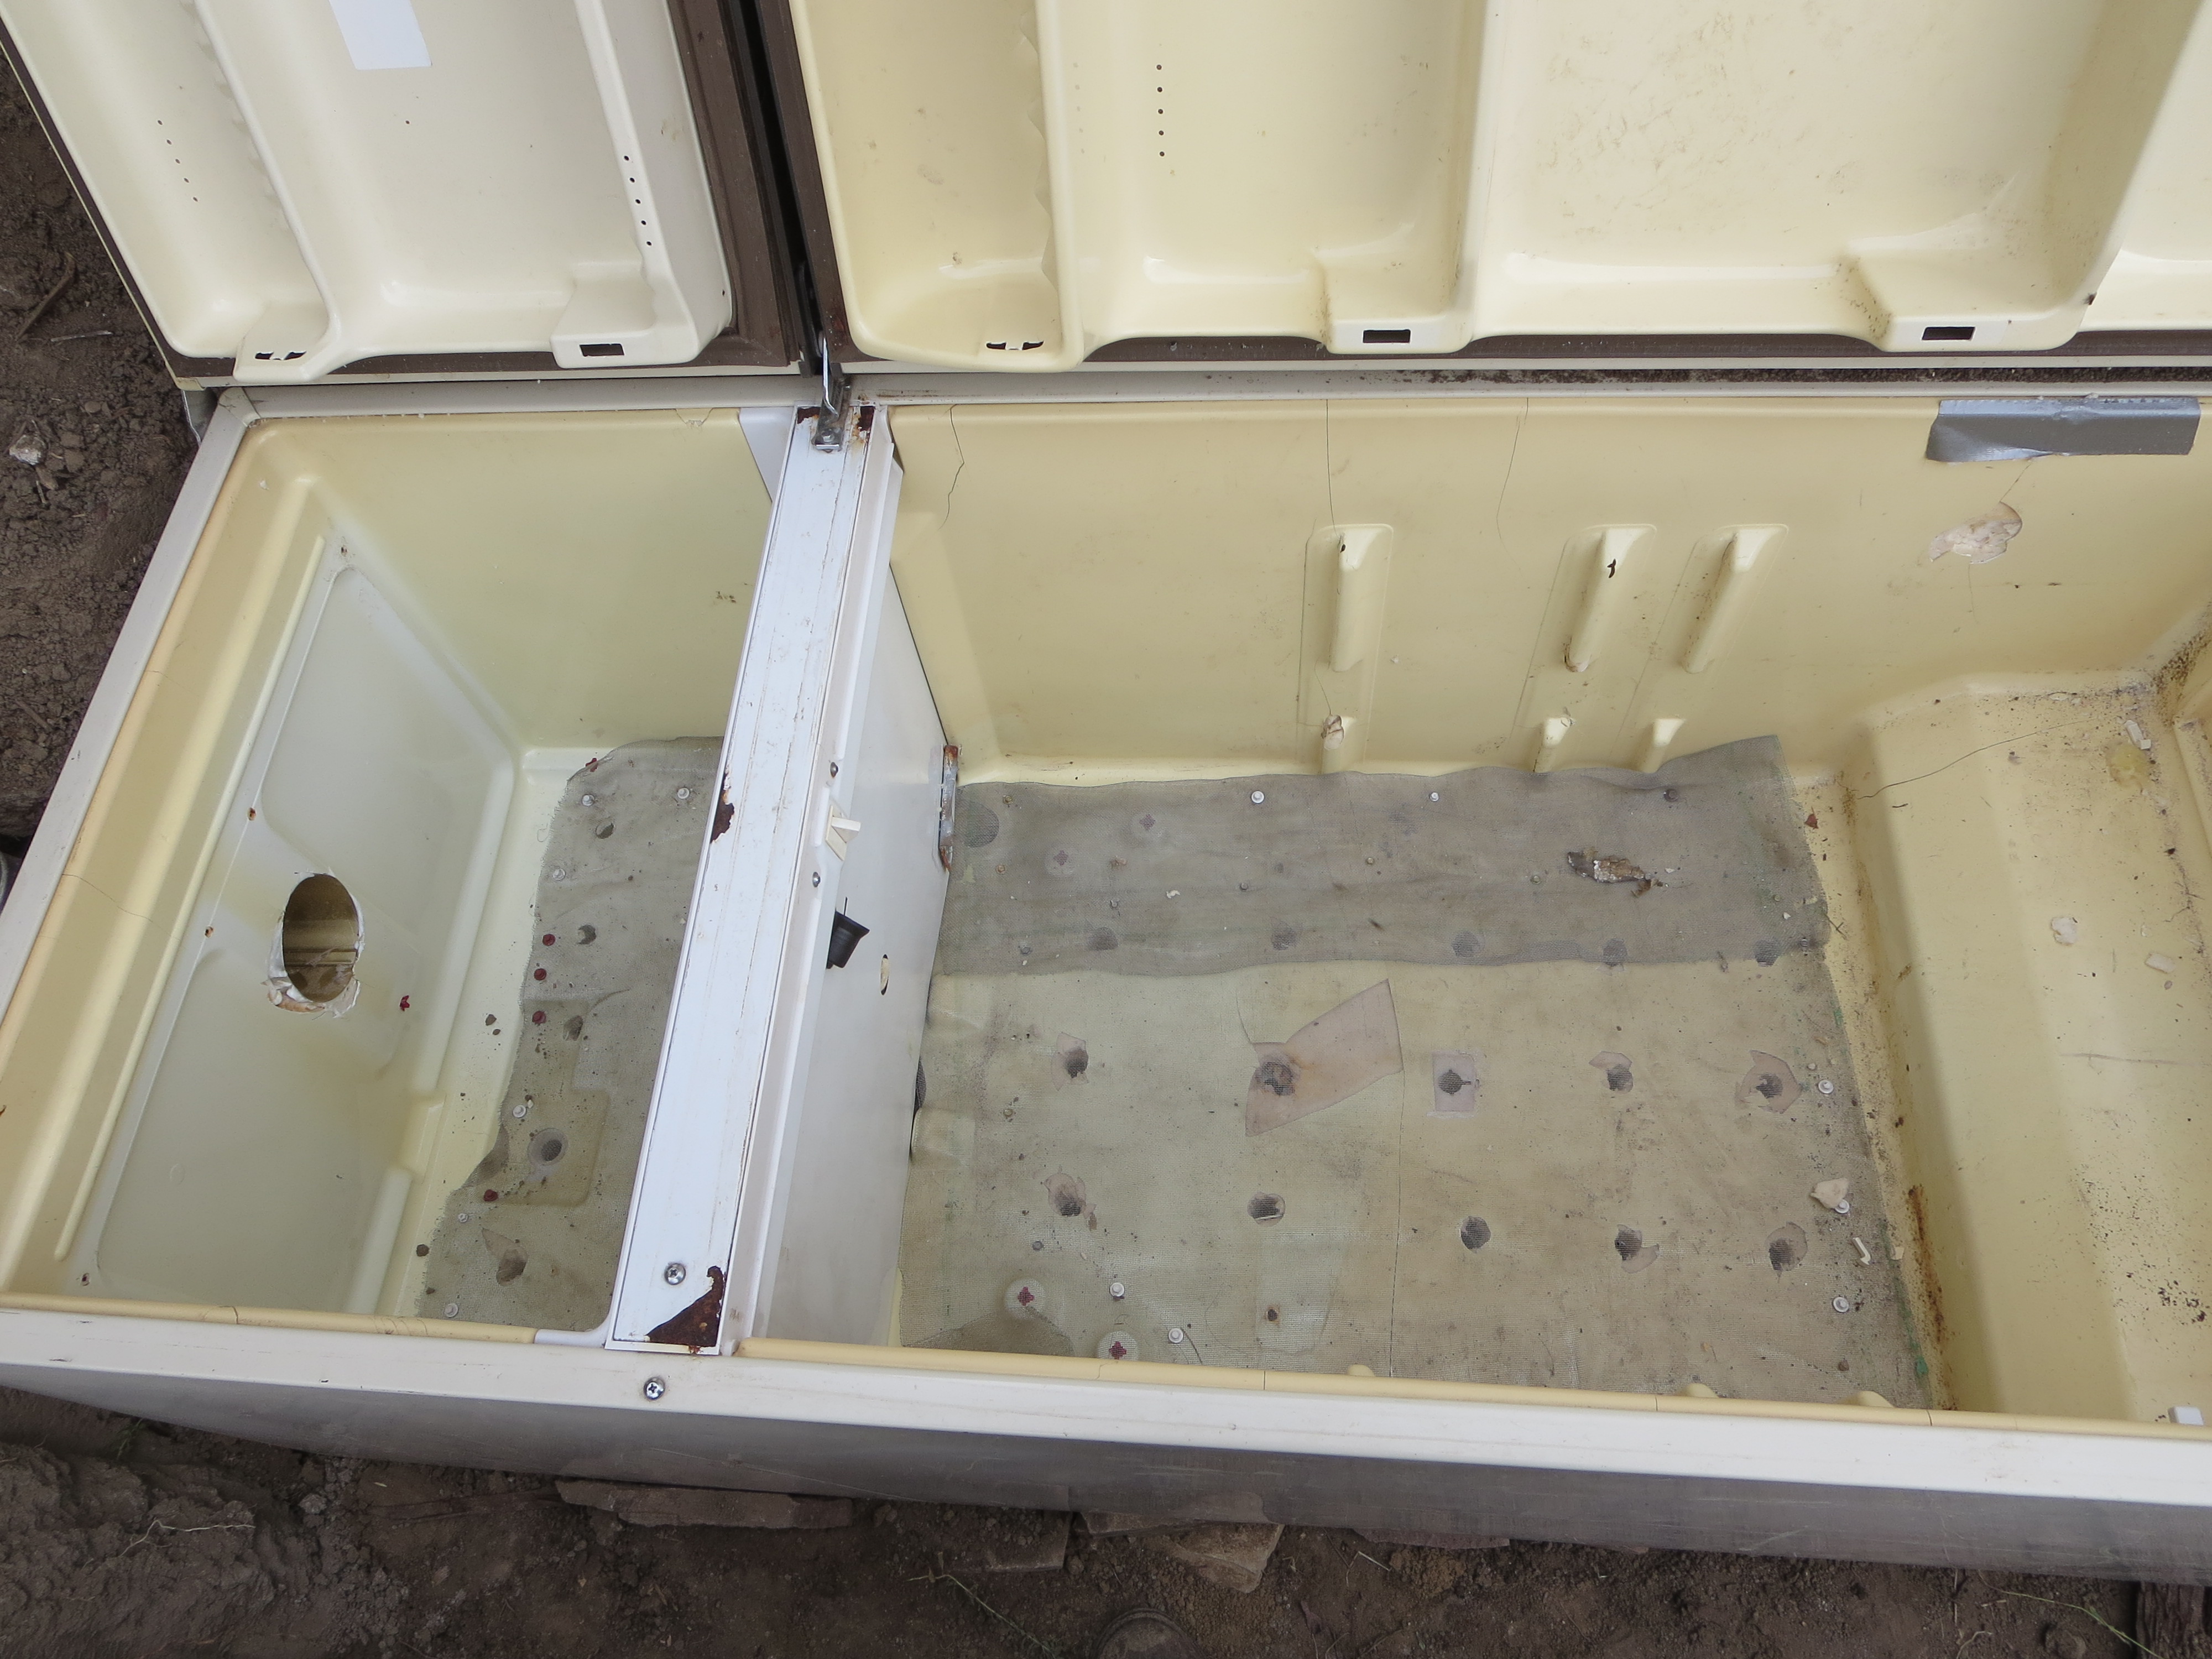 3. Once you have the shell of the fridge you need to start punching holes in the back side. We used a drill bit attachment to our drill. Worked pretty well, but don’t be too worried if the plastic breaks. The holes are absolutely crucial. This allows air flow from the ground into the root cellar. The air in the ground stays around 55 degrees which keeps your vegetables from getting frozen during the winter.
4. Place a bug netting over the holes. Even though you will be deep in the ground, you don’t know what time of creepy crawly bugs can get into your root cellar.
5. Make a hole at the top and bottom of the fridge. Once again, this is about air circulation. This allows the air from the holes on the bottom to be sucked out through to the surface. Don’t worry, this will not allow the cold air to enter if done correctly (enough circulation).
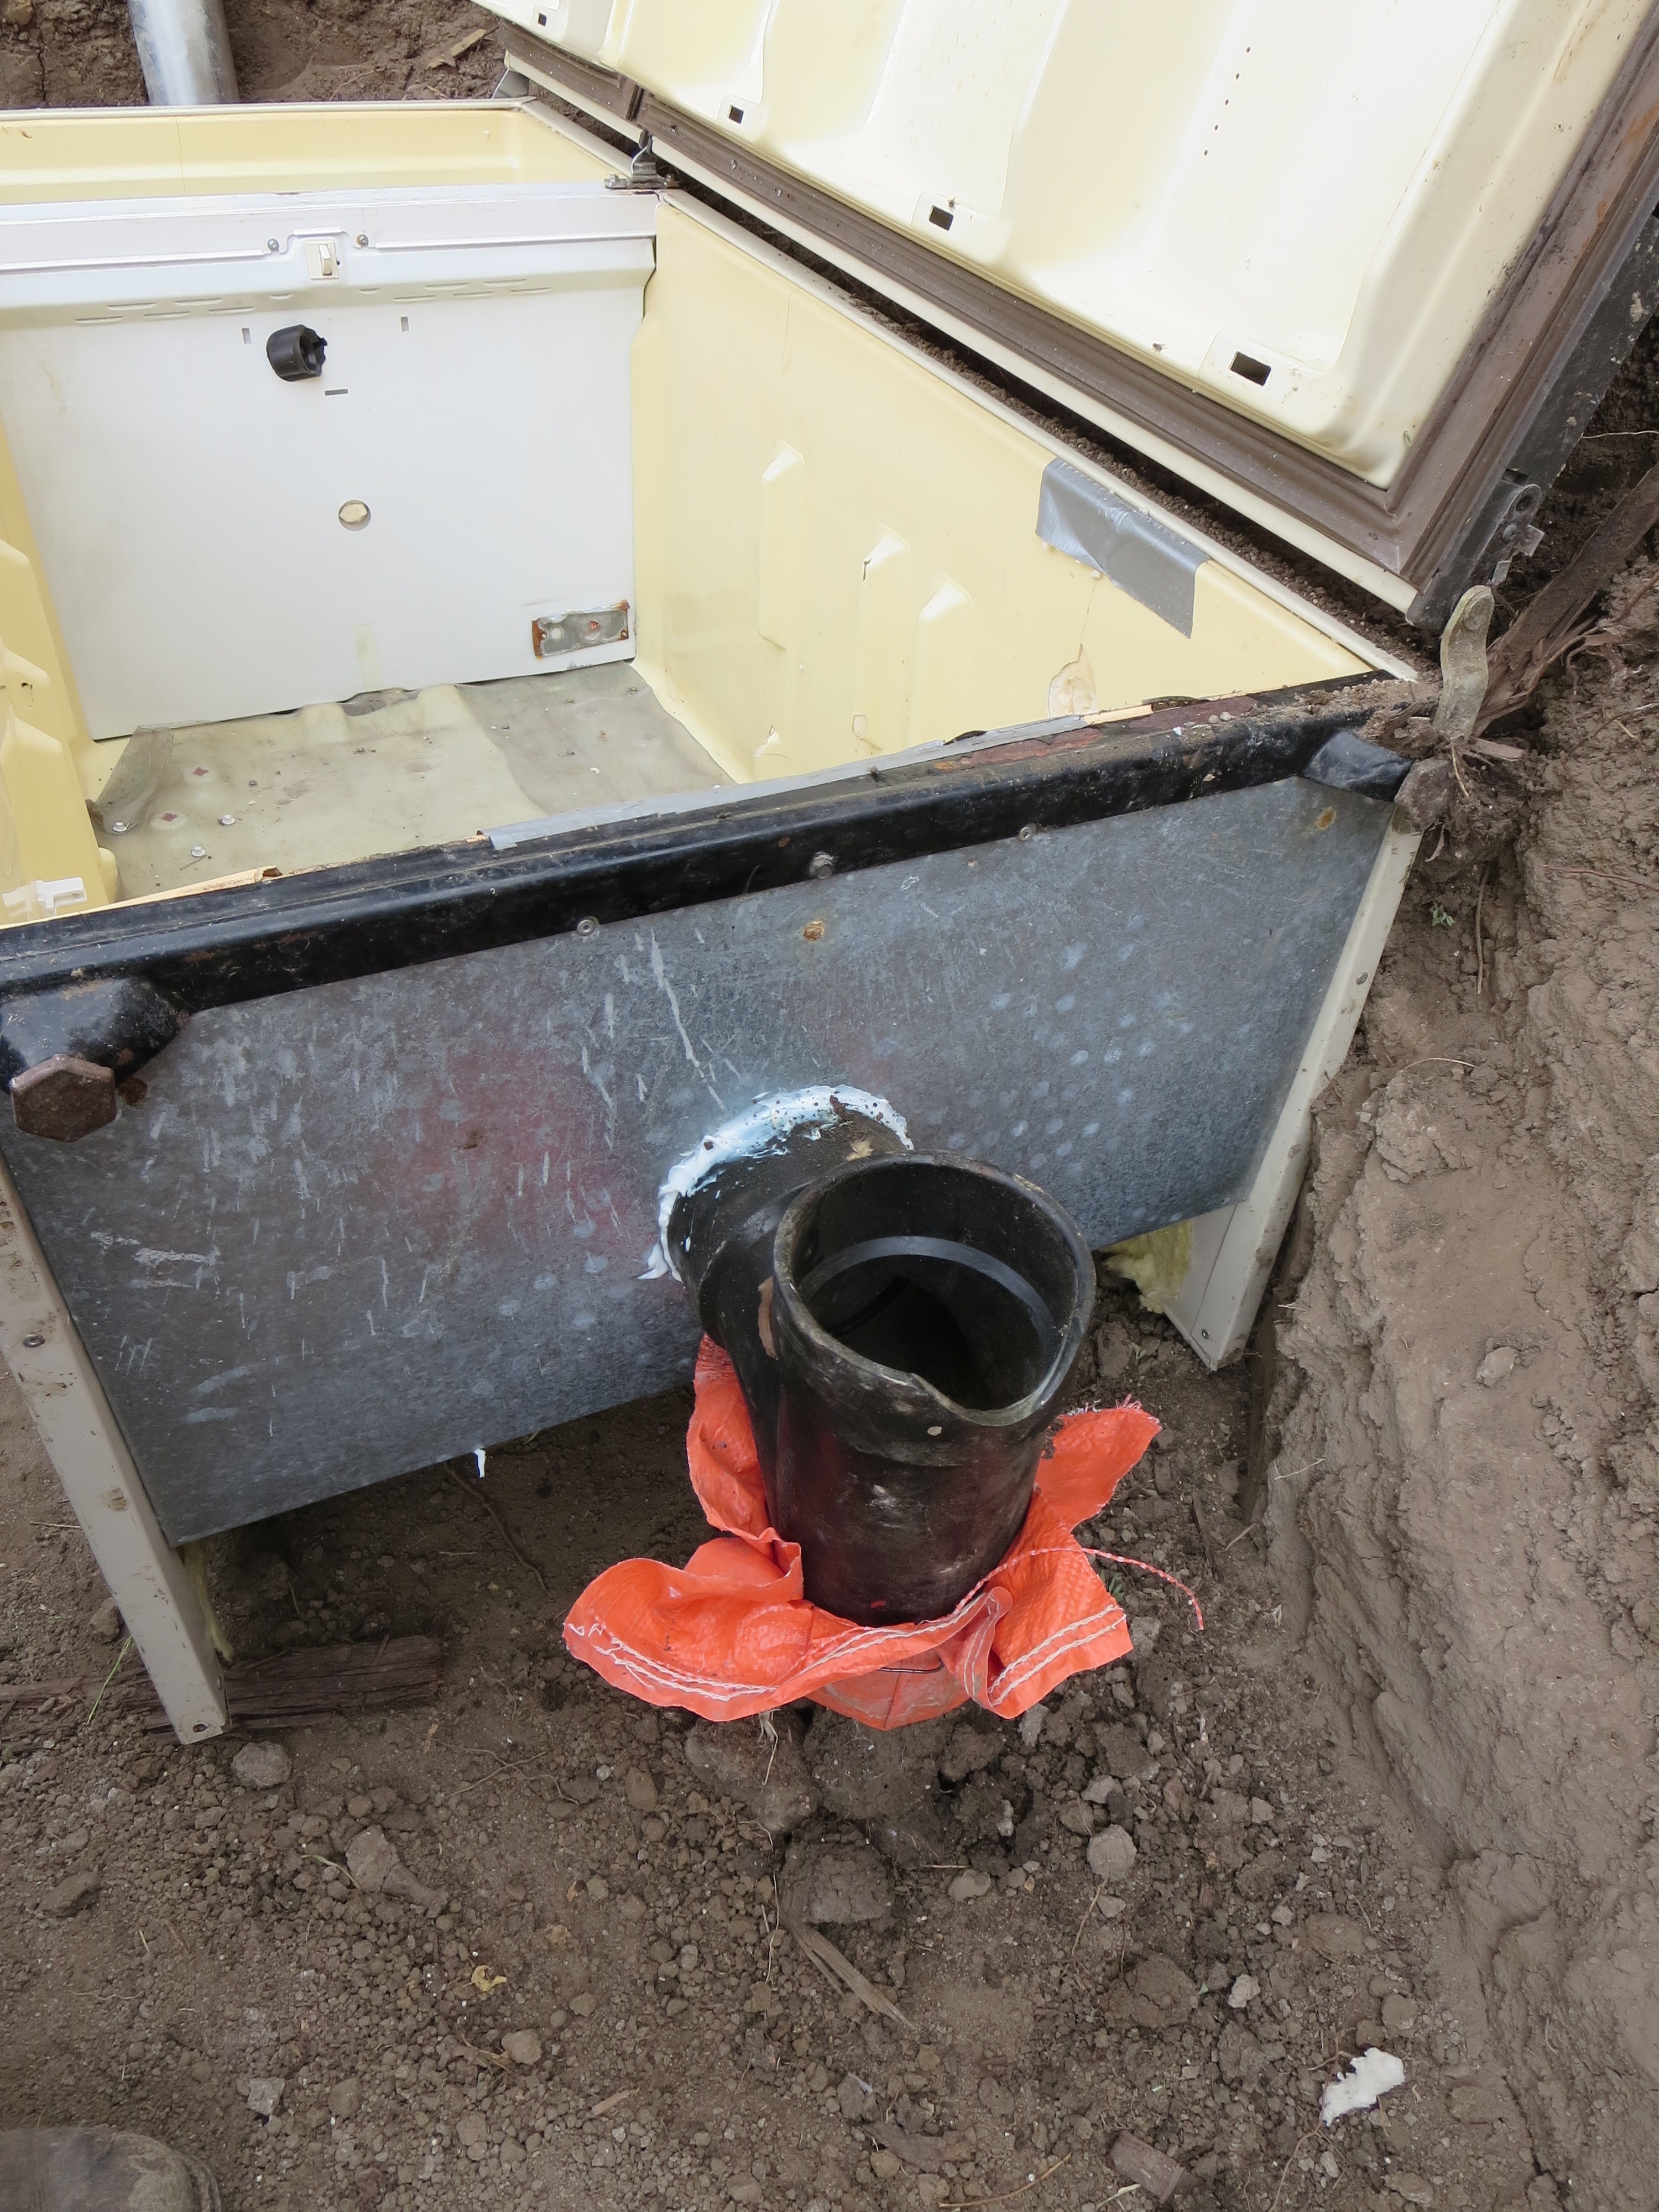
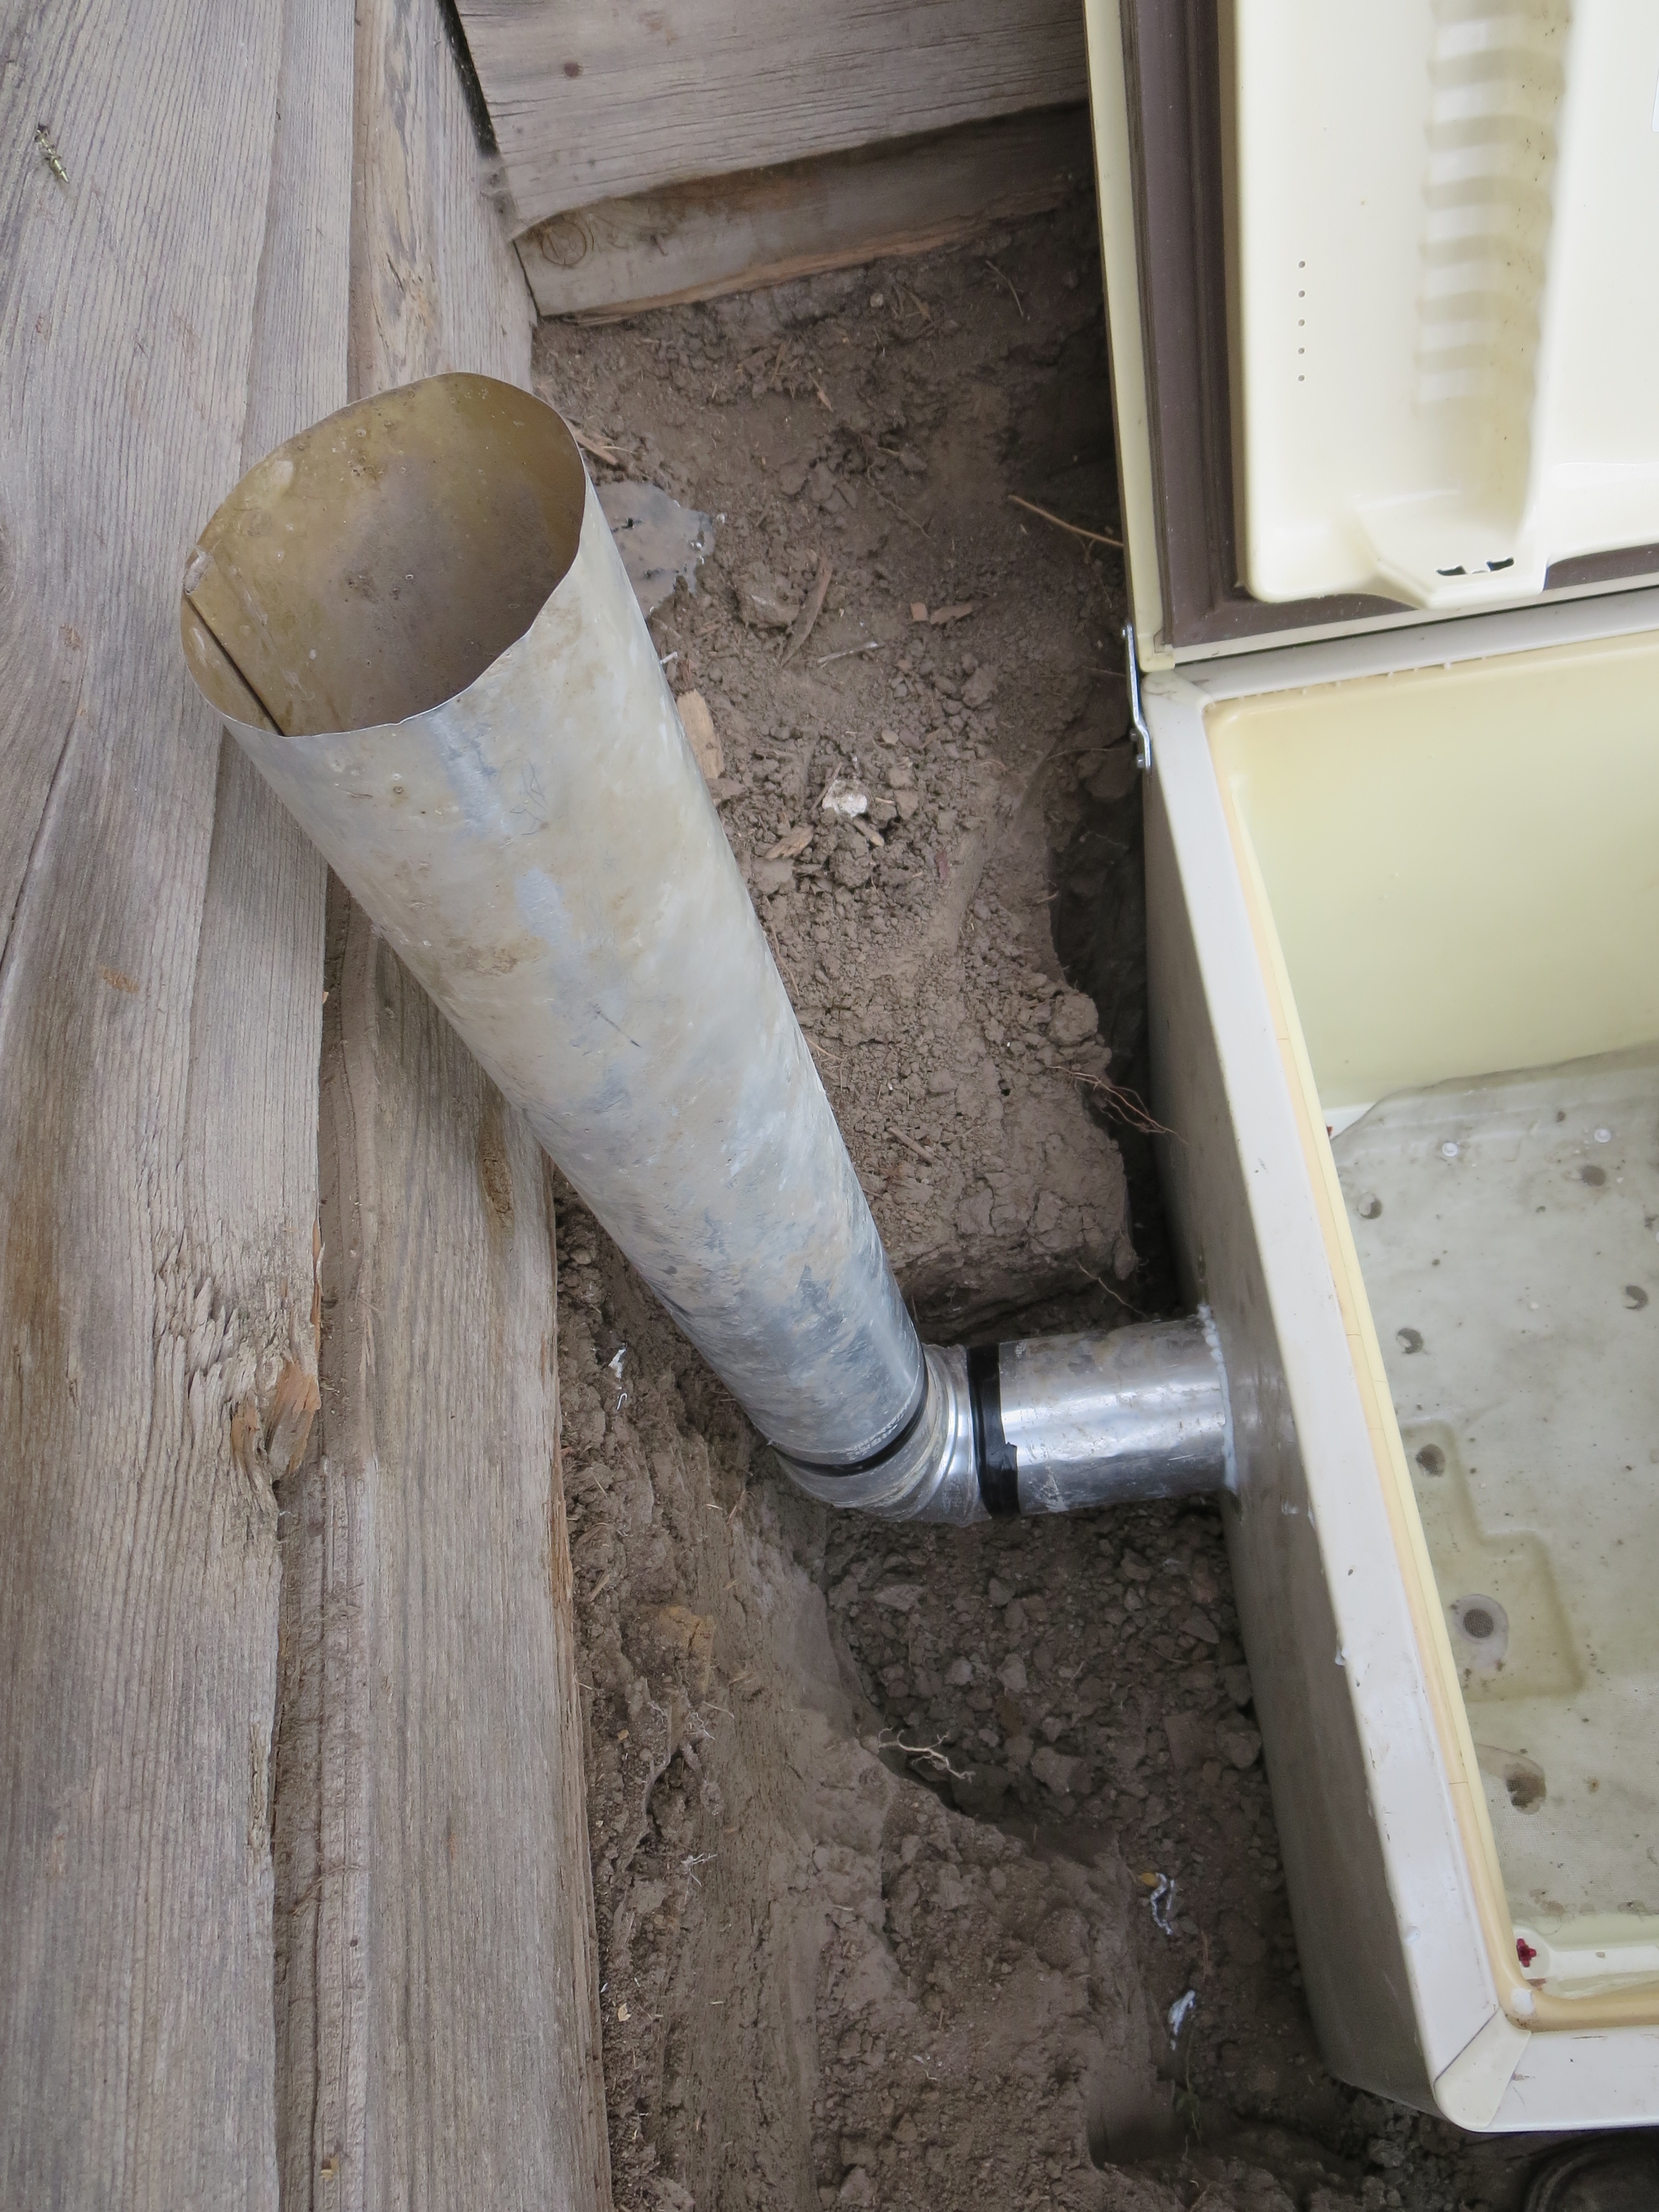 6. Put pipes at both ends of the fridge. The length of the pipes is going to depend on how deep your going to place your root cellar in the ground. Our pipes were about 3ft out of the ground. We also put vents on the top of the pipes so that water and dirt would not fall into the pipes, thus going down into the root cellar.
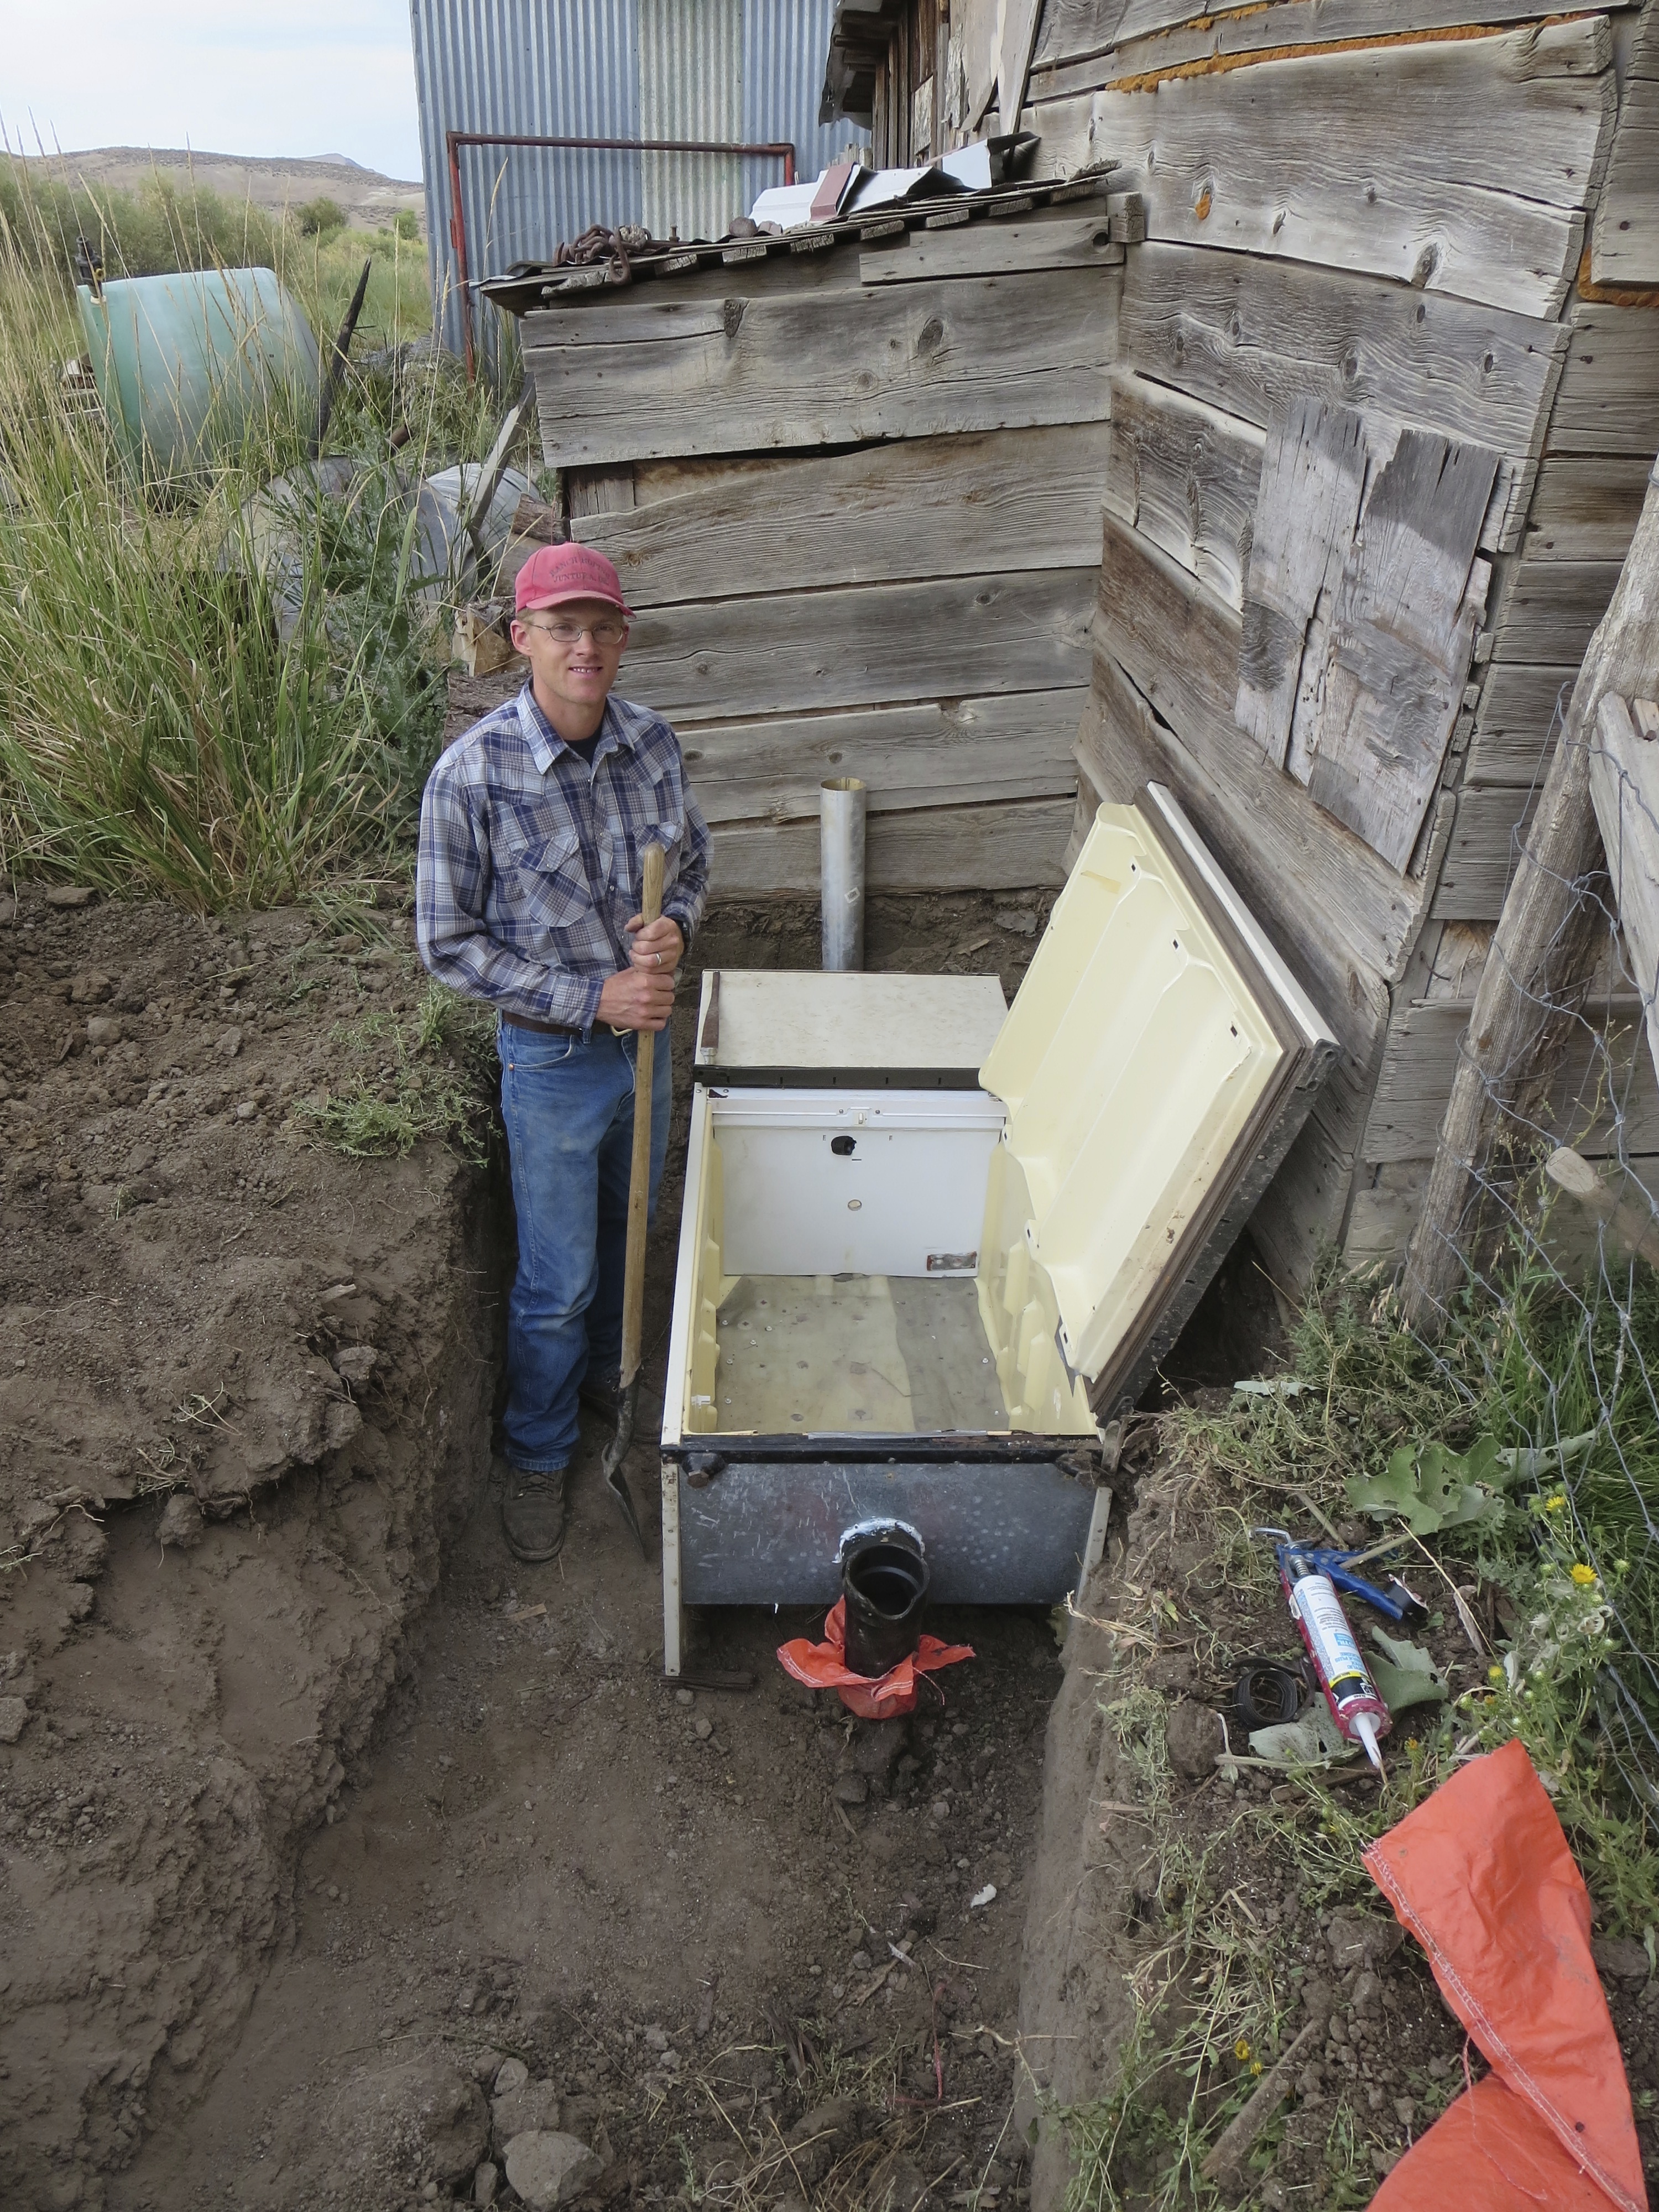
7. Dig a big hole. Once again, all depends on the size of your fridge and how deep you want it, but it needs to be at least 3-4 ft deep to get below the freezing level. Some heavy duty machinery really helps this part go faster, Sean dug the hole with a backhoe, but not everyone has a spare backhoe laying around…
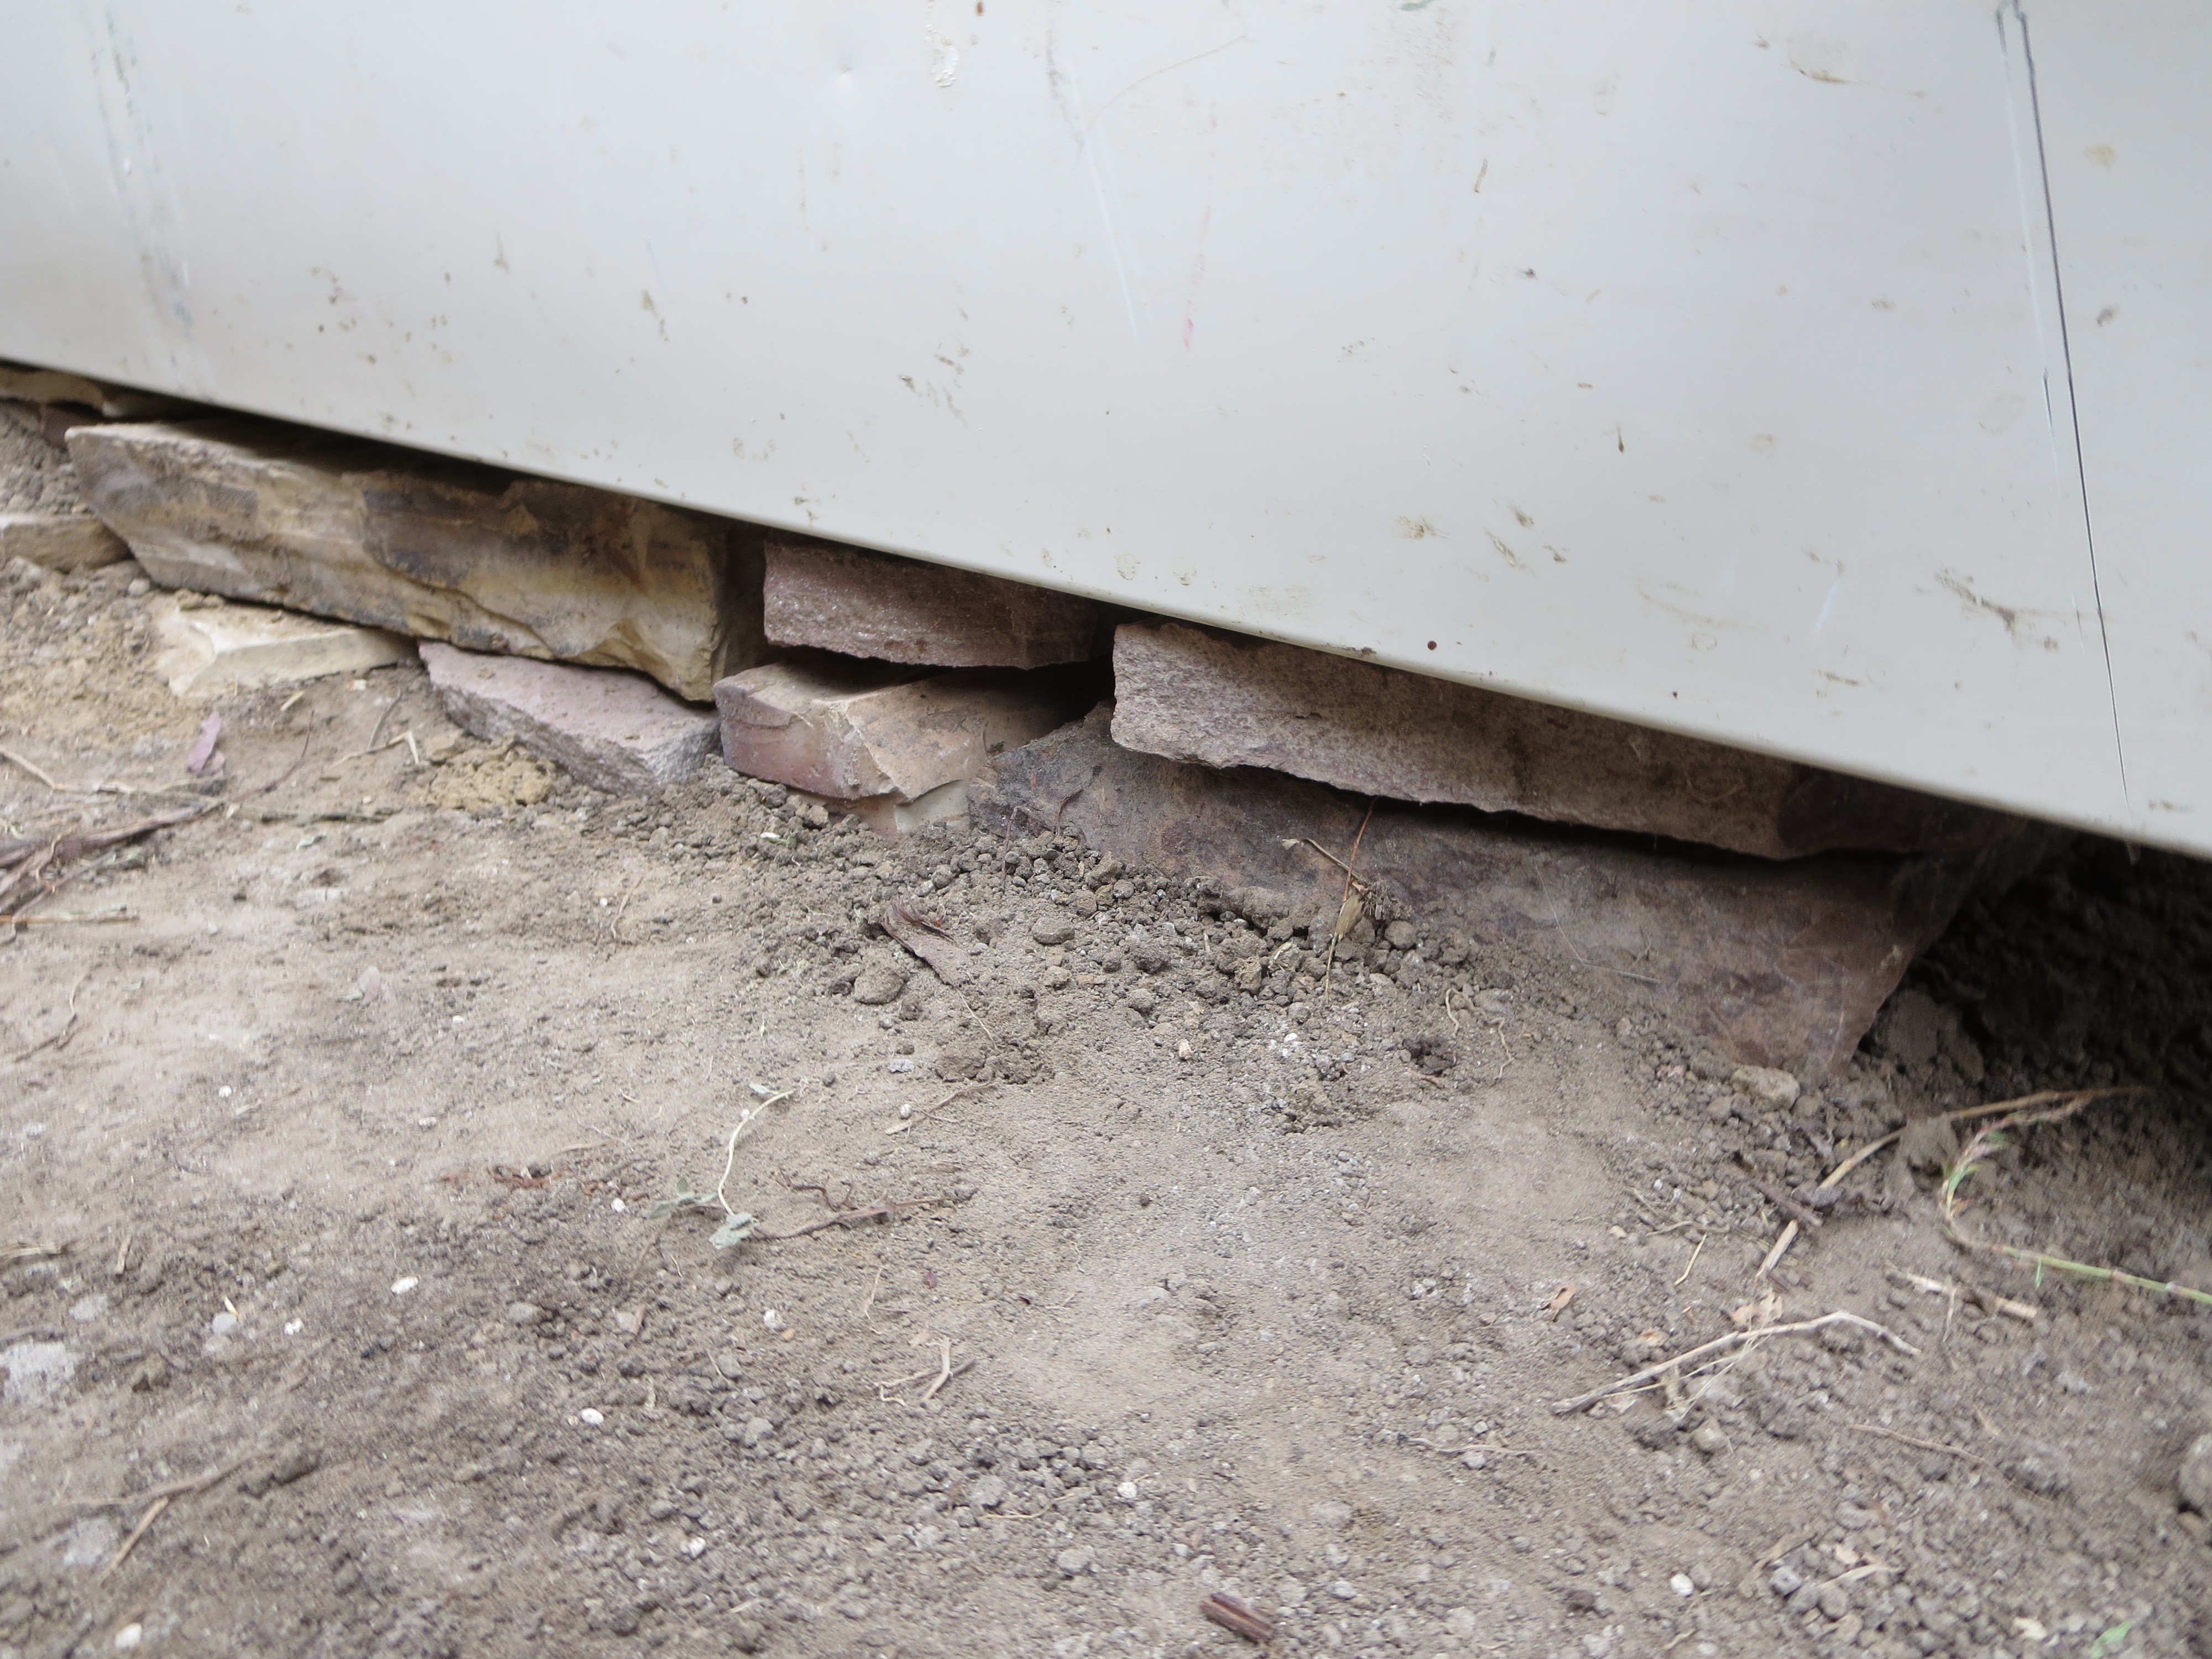 8. Make a level stack of rocks or bricks underneath the fridge. This allows better airflow.
9. Place the fridge in the ground in it’s final rest spot. Make sure to leave enough space (if you are placing it next to a building) so that you can open the door without too much trouble.
10. Start filling in the dirt.
 11. Leave a space around the fridge. As you can see here we placed a board next to the fridge and made a small box around it. This is because we didn’t want to be kicking in dirt when we opened the fridge and also we wanted to put a large and heavy cover on top of the fridge. We put a top on it for two reasons. 1. We have small children. No need to make an accident happen.
2. When it gets to the middle of winter, it gets cold! We laid insulation on top of the refrigerator and put the cover over the top. This lessens the amount of cold wind blowing over the top of the fridge causing it to freeze.
12. Make a cover to go over the fridge. As listed above it is important to make this large and heavy top. It is cumbersome but it absolutely keeps the fridge from getting extremely cold.
13. Fill the fridge with your root vegetables and winter harvest! This is the best part… Reaping the fruits of your labor.
Our experience: Everything has a learning curb. We placed a lot of potatoes, apples and winter squash in our freezer and all was well, until it started freezing extremely hard. One day I went out there and all our winter squash and some potatoes were frozen solid. Oops. The squash was done for, but the potatoes survived.
Even with the proper planning it still did freeze, but I was too lazy to simply put a temperature sensitive plug in the fridge that would turn on a light bulb when it reached freezing. A simple halogen light bulb can keep your fridge from hitting freezing and when it increases above freezing it’ll turn off. Simple solution, we’ll see how much better it does this year.
Also, this fridge has a hard time staying below 55 degrees during the summer. By May it’s best to have most of your vegetables removed, plus, they probably would be rotting at that point anyways.H
Have an experience of your own? Feel free to share!
Pingback: Basement or root cellar? Both! | from heron out
Hi,
Currently I’m making one of those “buried freezers” myself and I’ve noticed that you haven’t remove the insulation from the bottom of the fridge. (Where a bottom is it’s current bottom, or the back, if you like; in the times, when it was standing – not laying on the back.) What I wanted to say is that this minicellar should be insulated from all sides except the bottom. I know that you have bored holes to let the air flow but I think that removing insulation from the bottom may result in higher temperature during the winter and lower during the summer.
Ta ta,
Paweł
Great idea! Thanks for sharing.
Pingback: Is Root Cellaring For You? (and how to store veggies) |
Pingback: What is a Root Cellar? – World Top Business Systems